Indoor Garden This Winter: Where to Start
Outside, the vegetable patch is asleep under the snow until May. In your kitchen, there’s no reason to wait. An indoor garden can start small, with one good decision at a time. Here are the four steps we go through with people who are just starting out, plus the mistakes we see most often.
1. Choose between a machine and a DIY setup
First question: how much space do you have, and how much time do you want to spend on it? Your answer points you toward one of these five families.
| Format | Who it’s for | Examples in our online store |
|---|---|---|
| Microgreen sprouter | First-timers, small spaces, quick results | Novagrow |
| Countertop garden | Fresh herbs within reach in the kitchen | Végéhome LTE, Click and Grow 3, Botaneo Eylo, Véritable® CLASSIC |
| Mid-size format | More variety, a dedicated corner in the living room or kitchen | Garden Cube Ermonix, Plantaform Rejuvenate |
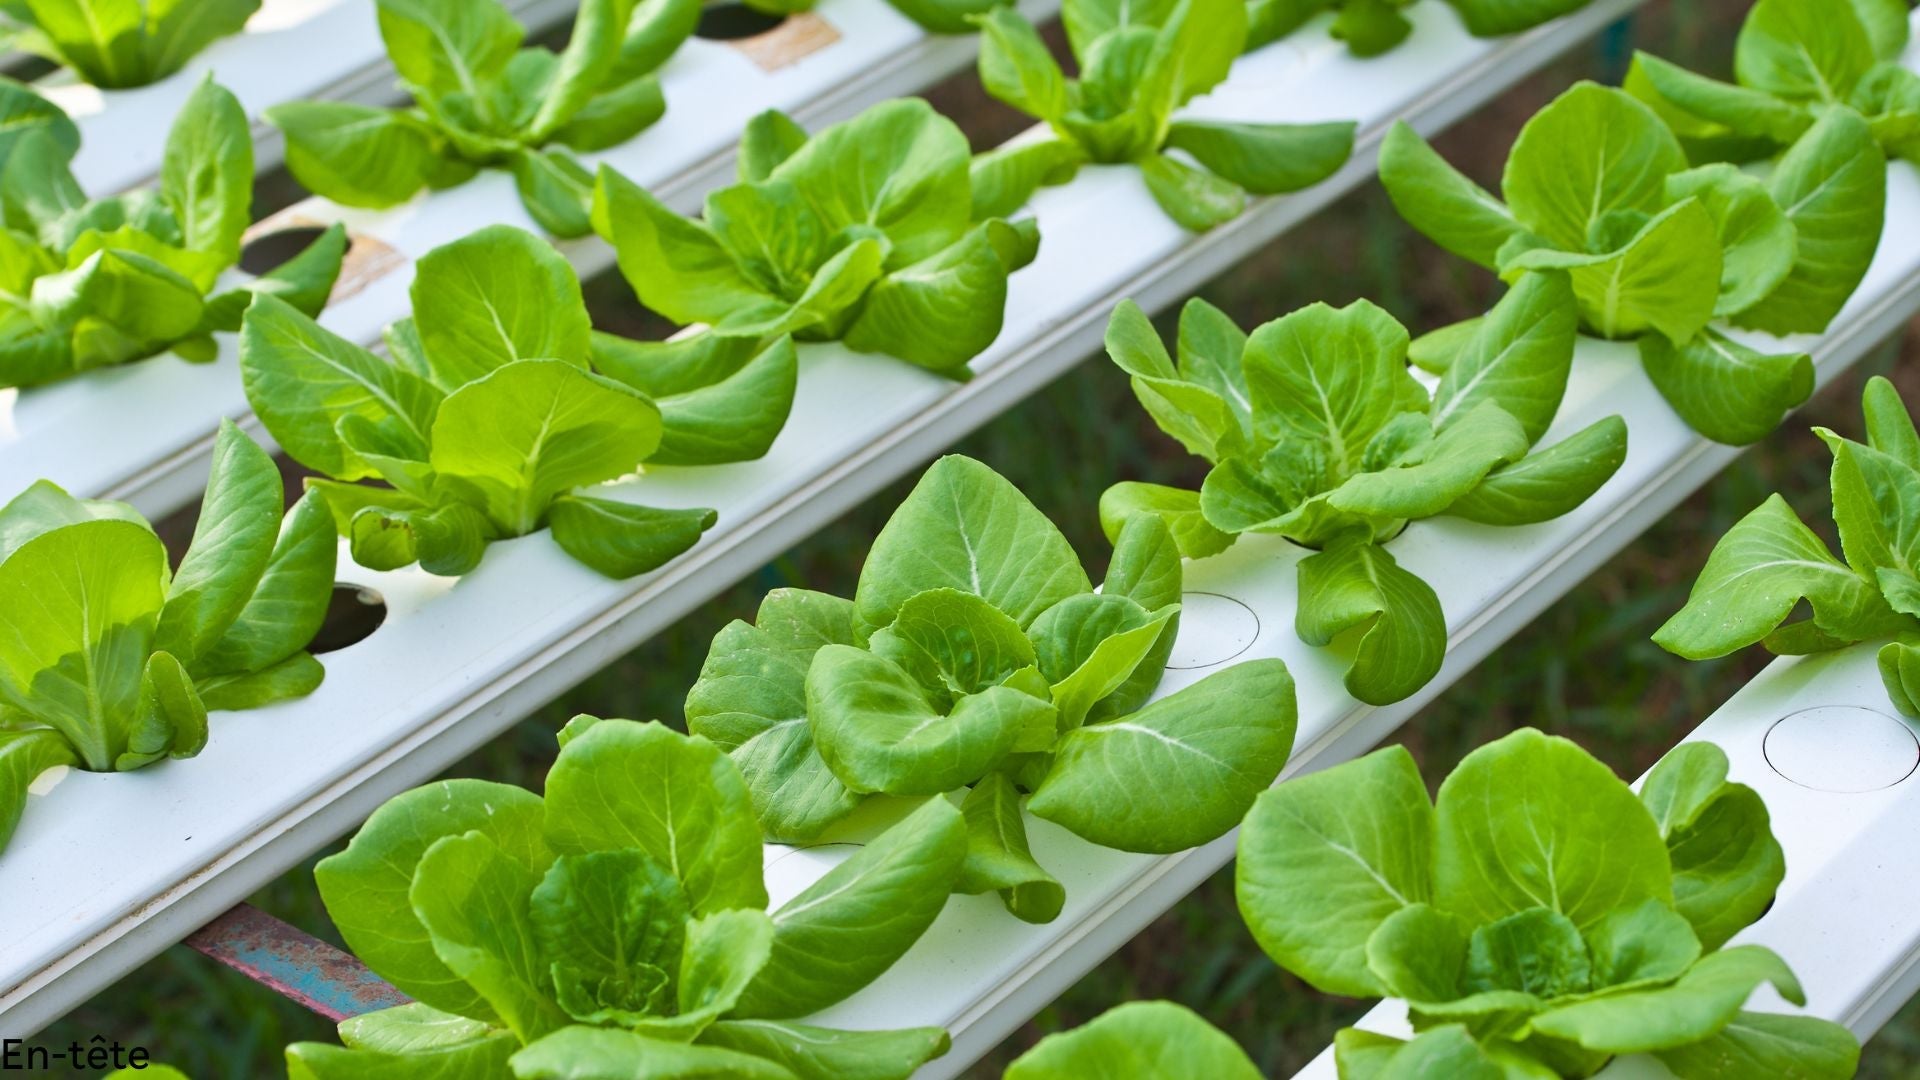
| Large vertical garden | Lettuce and vegetables every week, a full piece of furniture | |
| Tray and grow light | Small budget, hands-on types |
A machine handles lighting, watering and often the timer for you. You add water and nutrients, and the machine does the rest. It’s the reassuring choice for a first try. Larger formats need a bit more room: the Eve grows 12 plants at once and the Aeva holds 16, two vertical gardens designed in Toronto by Just Vertical, a company founded in 2017 at the University of Toronto.
A DIY setup, with a tray and a grow light, costs less and teaches you a lot. The trade-off: you manage the light, the watering and the rhythm yourself. If you like understanding how things work, it’s a great place to start.
There’s no wrong choice here. The best format is the one you’ll actually look after.

2. Find the right spot and the right light
In a Montreal winter, the days get short and the light coming through the window isn’t enough for most edible crops. That’s why we rely on LED lighting.
With a machine, the lighting is built in. Pick a stable spot near an outlet, away from cold drafts and direct heat sources like a radiator. Keep easy access to the water tank: you’ll be refilling it regularly.
With a DIY setup, place the light above the tray and plug it into a timer. Follow the distance and lighting duration recommended by your light’s manufacturer: they vary from one model to another.
A quick test before you buy: picture your garden in that spot on a January evening. If the light would bother you while you watch a movie, choose another corner or schedule the lighting during the day.
3. Choose your first crop: microgreens
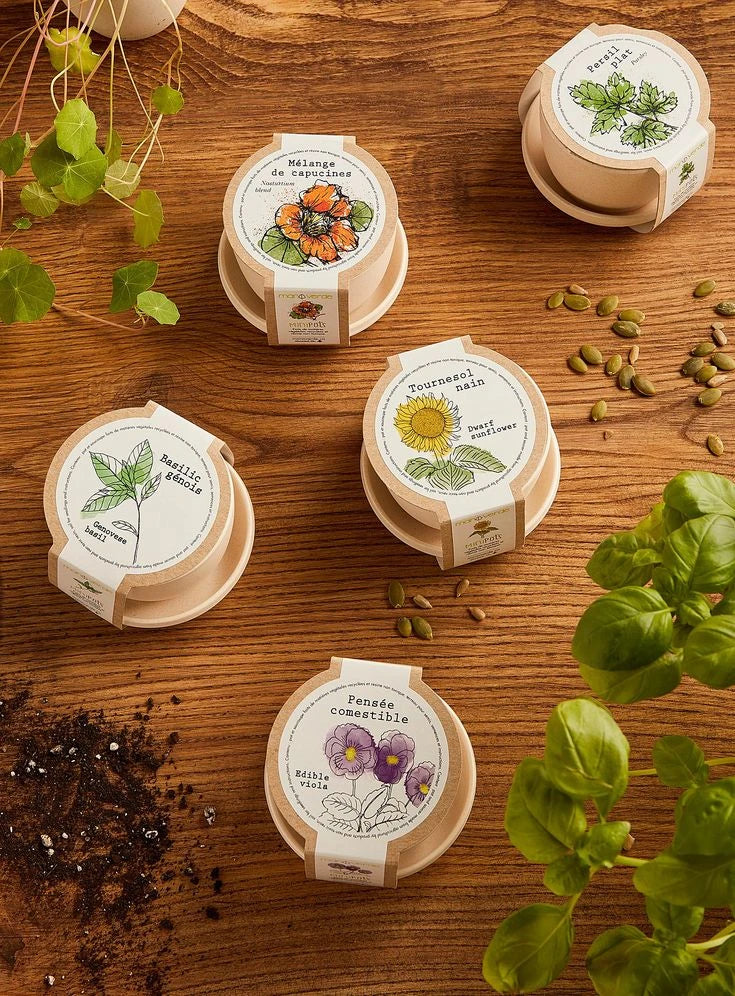
Our advice for a first try: start with microgreens. These are young plants harvested a few days after sprouting, once the first small leaves are fully formed. A sprouter takes up little space, needs few adjustments, and the harvest comes quickly.
That first success matters more than you’d think. It builds your confidence and teaches you your plants’ rhythm before you move on to herbs (basil, parsley, chives), then small vegetables and lettuce.
In the kitchen, microgreens are eaten raw: on soup, in a sandwich, on eggs or in a salad. Kids often love sowing and cutting them themselves, a good way to get them involved.

4. Get into a care routine
An indoor garden doesn’t take much time, but it does take a bit of consistency. A short routine, always on the same day, beats a big clean-up at the last minute.
Every week, check the water level, the state of the leaves and the colour of the roots if you can see them. Harvest often: most herbs grow back better when they’re cut regularly.
pH and EC, made simple
If you’re growing hydroponically, two measurements come up all the time. Don’t panic, we’ll walk you through them.
pH tells you whether the water is acidic or alkaline, on a scale from 0 to 14 where 7 is neutral. It affects how well plants can take up nutrients. A useful benchmark: most plants grow best with a pH between 5.5 and 6.5, a range also recommended by the University of Missouri, which encourages growers to check the specific needs of each crop. electrical conductivity and ph guide for hydroponics +2
EC (electrical conductivity) measures the amount of nutrients dissolved in the water. Nutrients are mineral salts, and the more salts the water contains, the better it conducts electricity: a higher EC means a more concentrated solution. The right value depends on the plant. Oklahoma State University’s extension service even publishes a table of recommended EC and pH ranges by crop. okstateokstate
In practice, for a countertop machine, follow the nutrient dosage given by the manufacturer: it’s already calibrated. For a larger system or a DIY setup, a pH and EC meter quickly becomes your best friend. Remember to calibrate it with a reference solution so your readings stay reliable. scienceinhydroponics

The mistakes we see most often
Starting too big. A large vertical garden for a very first try is possible, but a failure costs more in motivation. A sprouter or a countertop garden lets you learn without pressure.
Counting on the window. In winter, natural light isn’t enough for edible crops. Without dedicated lighting, seedlings stretch and turn pale.
Doubling the nutrients “to speed things up.” More isn’t better: an overly concentrated solution damages the roots. Stick to the dosage.
Forgetting the water tank. Water evaporates, especially with winter heating. A dry tank can ruin a crop in a matter of days.
Waiting too long to harvest. Herbs that go to flower lose flavour. Cut early, cut often.
Frequently asked questions
I’ve never managed to grow anything. Is this for me?
➡ Yes. Most failures come from a lack of light or water, two things a machine handles for you. Start with microgreens and give yourself permission to learn.
I’m going away for a week. What do I do?
➡ Fill the tank to the max before you leave and harvest whatever is ready. For a longer absence, check how long your model can run on its own in its product sheet, or ask a neighbour to drop by.
Do I need to measure pH with a countertop machine?
➡ Generally not: the manufacturer has calibrated its nutrients for its system. Measuring becomes useful with a large system, a DIY setup, or if your plants look weak for no obvious reason.
Can I grow tomatoes or peppers in winter?
➡ In the larger formats, yes, but these crops need more light, time and space. We’d suggest saving them for your second or third season.

Want to go further?
And if you’ve found your format, all our machines are waiting for you in the online store.
Browse the indoor growing collection
Sources: Singh, H. and Dunn, B., “Electrical Conductivity and pH Guide for Hydroponics,” HLA-6722, Oklahoma State University Extension; Boe, A. A., University of Idaho Cooperative Extension Service, 1974; Cabrera-Garcia, J., “Hydroponic Nutrient Solutions,” G6984, University of Missouri Extension.